With Heroku no longer a viable option for free hosting of web services and databases, I find that fly.io is a great alternative.
Fly.io offers a generous free tier by offering up to 3 VMs (1vCPU, 256MB RAM) and 3GB of persistent storage (which can be used for databases) for each organization. You can create as many organizations as you want, so you can create more organizations when you need more resources. On top of that, fly.io does not suspend servers when not in use, which in some ways is better than Heroku. Granted, fly.io requires a credit card, but it’s unlike you’ll get charged unless you messed around with autoscaling.
Hosting a standalone docker image
I found out recently that you can easily host a docker image on fly.io. This is great for hosting your own instance of any popular web service, ranging from a Ghost blog to Uptime Kuma. You can also easily try out any pre-build docker images and tear down without much effort.
Instructions
Step 1: Install flyctl
Instructions are available in the fly.io docs. If you’re on Arch Linux, there’s a AUR package.
Step 2: Generate a fly.toml file
A fly.toml contains all the configuration of your fly.io app. To generate one you can use the following command:
$ fly launch --image=[image_name:version_tag]The command will prompt you for a unique application name, as well as the region and organization that you want to use for the VM. If you need a PostgreSQL database, this command enables you to create one as well.
Step 3: Deploy
When you’re satisfied with your config just deploy the application with the following command:
$ fly deployAnd you’ll see your application live at [application_name].fly.dev.
Bonus
Need persistent storage?
As with running any docker image, changes made to the image will not be preserve and you’ll need to mount a volume in order to keep the data even after a restart or a redeployment. To create a volume:
$ fly volumes create [volume_name] --size=[integer_size_in_GB]After creating you’ll need to add the following lines to your fly.toml file to mount the volume:
[mounts]
  source = "[volume_name]"
  destination = "/path/to/volume/mount/dir"
Run fly deploy to apply the changes.
Need HTTPS?
Fly.io comes with SSL certificates generated by Let’s Encrypt by default. If you want to use a custom domain you’ll need to provide the custom domains that you want to use:
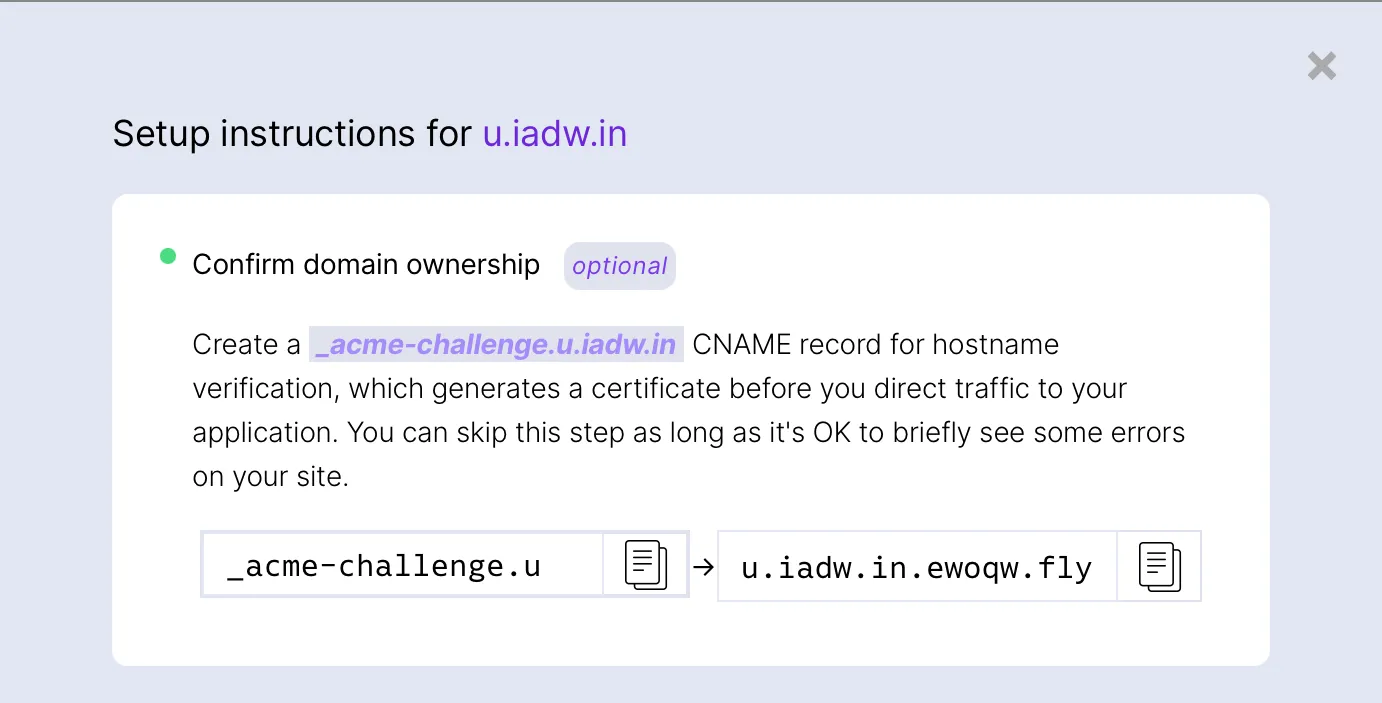
$ fly certs create [custom_domain]You’ll need to update your domain’s DNS settings (CNAME for a subdomain, A record for an apex domain). The fly.io docs provides a detailed explanation on how to configure your custom domain.
If you’re using Cloudflare’s proxy DNS, you might run into problems verifying your domain ownership. You can try the alternative verification method that is listed on fly.io’s web portal instead. The alternative verification involves adding a custom CNAME DNS entry to your domain.
Self-taught full-stack web dev based in Tokyo.
Occasionally wrecks servers through
self-hosting
and
homelab-ing .